
September 7, 2026
Do I need to acid etch concrete before applying epoxy?
Acid etching opens a light CSP-1 profile at best, and on a hard-troweled garage slab it often removes nothing but surface dust. That is why Slabbr diamond grinds every floor with HEPA dust extraction instead. Grinding cuts a mechanical profile that a coating can actually key into.
Written by the Slabbr crew, installing concrete coatings across North Texas since 2019. About Slabbr
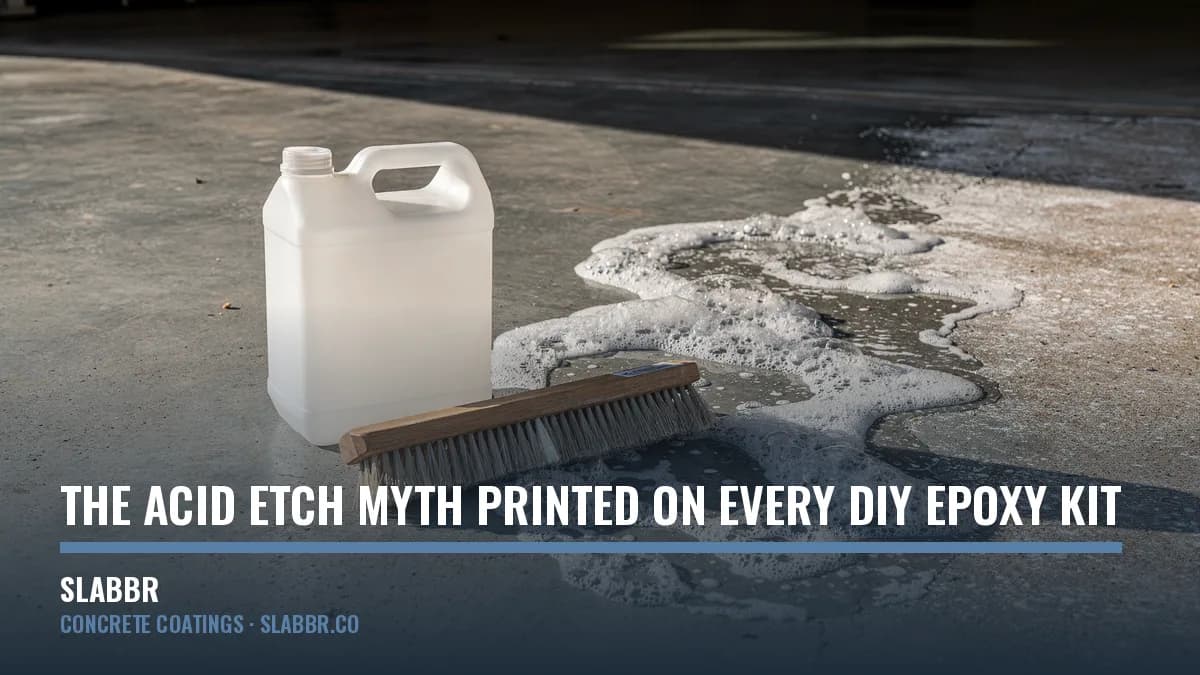
Acid etching opens a light CSP-1 profile at best, and on a hard-troweled garage slab it often removes nothing but surface dust. That is why Slabbr diamond grinds every floor with HEPA dust extraction instead. Grinding cuts a mechanical profile that a coating can actually key into.
What the acid in the box actually does to your slab
Muriatic acid and the citric crystals that ship in newer kits work the same way. They react with calcium hydroxide near the surface of the slab and dissolve a thin layer of it. On a soft, porous, broom-finished slab that reaction opens the pores enough for a thin coating to soak in. The acid is doing chemistry, not mechanics. It does not cut anything. It removes a few thousandths of an inch at most, and only in the spots where the liquid sat long enough to react before it was rinsed away.
The problem is the garage slab in almost every house built in Dallas-Fort Worth in the last few decades. Production builders finish garage floors with a ride-on or walk-behind power trowel. That machine burnishes the top layer until it is dense, closed and slick, and it drives fine cement paste into the surface. There is very little left for acid to react with, and acid cannot cut past what it will not dissolve. You rinse, the floor looks clean, and the surface is nearly as closed as it was when you started. The coating then sits on top of a sealed slab instead of keying into it.
Acid also leaves things behind. The reaction produces salts that have to be rinsed and wet-vacuumed off completely, and any residue left sitting in the pores becomes a bond breaker under the coating. Rinse water soaks into the concrete, so the slab has to dry all the way through before anything goes down. Most kit instructions give a vague overnight window. In a humid Texas week that is not close to enough. A coating applied over damp concrete can blister within days even when the profile was adequate, which makes the failure look like a product problem instead of a prep problem.
Why kit makers still print the etch instruction
Kit makers are not lying to you on purpose. They are writing instructions for the only prep a homeowner can realistically perform in a weekend. A jug of acid costs about ten dollars at any hardware store and needs no equipment beyond a stiff broom, a hose and eye protection. A walk-behind grinder with a dust shroud is a rental item, it needs a vacuum attached, and running one flat and even across a slab takes practice. If the box said rent a grinder, hook it to a HEPA vacuum and cut the entire floor, a large share of buyers would set the box back on the shelf.
So the instruction stays, and it is technically true in a narrow case. A soft, older, porous slab that has never been sealed and never been hard troweled can accept a thin water-based coating after a careful etch and a long dry. That slab exists. It is just not the typical two-car garage in a suburban DFW subdivision. The kit has no way to tell the difference between your slab and that one, so it prints a single procedure and hopes the buyer landed in the good case. Many buyers do not, and the coating that goes down over a closed slab was compromised before the first bucket was mixed.
Manufacturers of professional resin systems have moved the other direction. Their technical data sheets now call for mechanical profiling and treat acid etching as an outdated method. Sherwin-Williams publishes a technical article stating that acid etching is no longer recommended as a concrete prep method, citing inconsistent results, an inadequate profile, leftover contaminants and disposal issues with the rinse water. The professional standard is a mechanically opened surface measured against a physical profile chip, not a chemical wash. The gap between what the pro data sheets require and what the retail box recommends is where most DIY floor failures come from.
What a properly ground profile looks like
CSP stands for concrete surface profile. The International Concrete Repair Institute publishes a set of numbered rubber comparison chips, CSP-1 through CSP-10, so you can hold a known texture against your slab and see where it falls. CSP-1 is roughly what a light acid etch or a fine sanding gives you. CSP-2 and CSP-3 are what a diamond grinder produces on a residential garage floor. The higher numbers come from shot blasting and scarifying and are meant for thick industrial mortars. The rule is simple. Thicker coatings need more profile, and almost every coating needs more than acid alone will give.
A diamond grinder does not react with the concrete. It cuts. Segmented diamond tooling shears off the burnished top layer and exposes clean, open concrete with texture you can see and feel. Run your palm across a properly ground floor and it feels like 60 to 80 grit sandpaper, with a slightly dulled color instead of the sheen a troweled slab carries. That texture gives the coating mechanical grip, so the bond no longer depends on the slab happening to be porous that day. Grinding also knocks down trowel ridges and opens the mouths of cracks so they can be filled instead of bridged over.
Grinding produces a lot of silica dust, which is why the vacuum matters as much as the machine does. Slabbr runs HEPA dust extraction on every grind, so the garage does not end up under a gray film and nobody on site is breathing crystalline silica. Every Slabbr build includes that grind, a moisture reading taken before any product goes down, crack repair with rigid polymer at no extra charge, and flake broadcast to refusal. All three builds are 100 percent polyaspartic in every layer, base coat and topcoat. Acid never touches the floor on any of them.
How to tell whether your floor was etched or ground
If a coating is already down and you want to know how the slab was prepped, start at the edges. A ground floor has a hard, clean line where the tooling stopped, usually a quarter inch or so off the wall, and that perimeter gets cut separately with a hand tool. An etched floor usually has coating running right up to the wall over a surface that was never touched by anything but liquid. Check the garage door threshold as well. Grinding leaves a visible cut line at the transition where the exposed concrete changes color and texture against the driveway.
The tape test takes about thirty seconds. Press a strip of duct tape down hard onto the coating, smooth it with your thumb, then rip it up sharply at an angle. Coating over a properly ground slab stays put and the tape comes away clean. Coating over an etched, closed slab often lifts in flakes or sheets, sometimes carrying a thin skin of cement paste with it. Users commonly report the first visible failures showing up under the tires. Hot tire pickup is the classic symptom, where the coating peels away in patches shaped like the contact patch of a tire.
Sound gives you a third check. Tap across the floor with the handle of a screwdriver and listen. Well bonded coating sounds dull and solid. Hollow or drummy spots mean the coating has separated from the slab beneath it, even where the surface still looks perfect. Small bubbles that crush under a thumbnail usually point to moisture or to air pushed out of concrete that prep never opened. None of these conditions get fixed by adding another topcoat. More product on a bad bond just adds weight to something already letting go.
What it costs to fix a floor that was only etched
A failed coating has to come off before anything new goes down, and there is no shortcut around that step. Slabbr removes a failed coating at $1.50 per square foot, which works out to about $660 on a 440 square foot two-car garage. That covers grinding the old material off and taking the slab back to bare, open concrete with a real profile on it. It is not a penalty for having tried the kit. It is the labor of undoing prep that was never done, and it should appear as a plain line item on any honest quote you get.
After removal, the new floor is priced exactly like any other job. Slabbr One is $6 per square foot. Slabbr Prime is $8 and adds a moisture vapor barrier under the base coat, which matters on slabs that have already shown blistering. Slabbr Ironclad is $10 and includes that vapor barrier plus two polyaspartic topcoats. On the same 440 square foot garage those builds come to $2,650, $3,520 and $4,400. Install takes one day. You can walk the floor at 24 hours and park on it at 72 hours, and the lifetime residential warranty attaches to the job with no registration card to mail in.
Doing the floor twice always costs more than doing it once. A hundred dollar kit plus a weekend of your time, then $660 in removal, then the real floor, adds up past what the finished floor would have cost on the first pass. That math is worth running before you open the box rather than after the first flake lifts. If your garage is already coated and you are not certain what is underneath it, the tape test and the perimeter edge line will usually tell you inside five minutes, and a free estimate will confirm it.
Find out what is actually under your garage floor
Slabbr grinds every slab with HEPA dust extraction, takes a moisture reading before any product goes down, and builds with 100 percent polyaspartic in every layer. Slabbr One is $6 per square foot, Slabbr Prime is $8 with a moisture vapor barrier, and Slabbr Ironclad is $10 with the vapor barrier and two topcoats, which is $2,650, $3,520 or $4,400 on a 440 square foot two-car garage. Removing a failed coating runs $1.50 per square foot, about $660 on that same garage. The estimate is free, there are no commissioned salespeople, and there is no travel premium anywhere in DFW. A 50% deposit books your install date and the balance is due after the floor is finished and you have walked it. Call Burleson at (469) 849-8338 or Celina at (903) 243-9525.
Related services
The floors behind this article
Related questions
- How much does it cost to coat a 2-car garage floor?
- Do you grind the floor or acid etch it?
- What is hot tire pickup?
- Why is my epoxy garage floor turning yellow?
What we guarantee, in writing: the warranty. How install day runs: our process. The standards we prep to: ASTM and ICRI.
Straight answers, real numbers
Keep reading
See your number in about a minute
Pick what we are coating, pick the size, get a price. No home visit needed to see it and no salesperson attached to it.